Digital Forensics Assignment: Case Analysis Of Pro-discover Software
Question
Task:
The digital forensics assignment is based on the practicals on Digital Forensics. Do the following tasks.
- Install the Digital Forensics software Prodiscover basic on your personal computer. Provide the screen shots for the evidence.
- Create a RAW format image from the Pro-discover basic software with the USB flash. Write the details of the flash you have used. Provide the screen shots for the evidence.
- Create a Proprietary format image from Pro-discover software with your USB flash having more than 8GB. Create the segmented images with 1GB of each segment. Provide the screen shots for the evidence.
- Provide the Manual Write-Blocking procedure explained in the class with your USB drive from Windows OS. Provide the screenshots for the evidence.
Answer
Introduction
The advent of digital offenses and evolution of technology further contributed to the growth of Digital Forensic investigations in this warfare, which functions as a protection. Digital Forensics' involvement is essential as the forensic examination and many technologies have provided a standardized way to collect evidence as well as provided a way to fight and defend against various cybercrimes (Kahvedži?, 2018).
Forensic Image Acquisition
The forensic examination model will describe the various phases of the examination. The basic investigative frameworks for digital forensics consist of 3 fundamental elements. The common digital forensic investigation falls into the three elements listed below.
- The data should be obtained first. The credibility of the data should be ensured when gathering information (Casey, 2013).
- The authenticity of the extracted data, that includes making certain it is as accurate as the source, is authenticated (Arshad, Iqbal, & Abbas, 2017).
- Lastly, it is essential to review the details while maintaining its credibility (Keith, 2012).
Image Acquisition tool – Prodiscover
ProDiscover is a versatile application for data analysis that helps professionals to locate all the information on a computer drive while preserving evidence and generating quality evidence files for litigation. To obtain the information, ProDiscover allows users to browse through the complete disk for keywords and key phrases including full Boolean search feature (Guo, Slay, & Beckett, 2009).
The efficient search feature of ProDiscover is quick and versatile, enabling anyone to searcheverywhere on the database, including the unallocated space, for terms or phrases. Users can start utilizing ProDiscover easily with the comprehensive online support feature and can utilize the GUI interface as well.
Live Image Acquisition Process
Usb Flash details
2 different USB Flash storage would be used. Their details are as follows –
- USB Flash Drive 1 – Kingston 8GB Data Traveler
- USB Flash Drive 2 – HP 16GB v22W Pendrive
Task 1 – Installing Prodiscover
The first step is to install Prodiscover. The copy of prodiscover can be obtained from Softwareinformer.com and the latest version available there is 7.0b. The installation process is straightforward and can be installed straight away from the executable installer file.
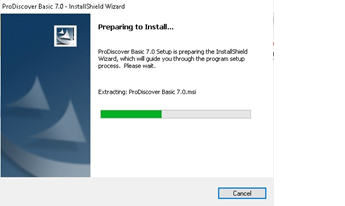
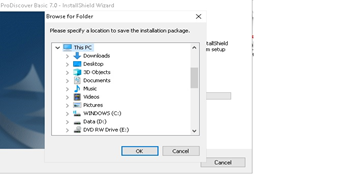
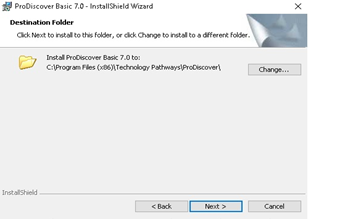
The installer would ask for the install location and I chose the default installation location to not incapacitate the administration priveleges function needed by the application.
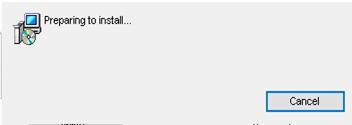
Prodiscover will prepare for installation.
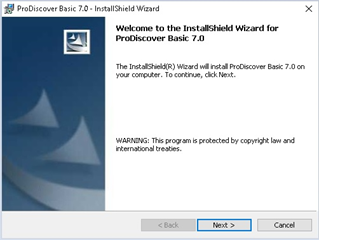
Here we just need to click on the next button.
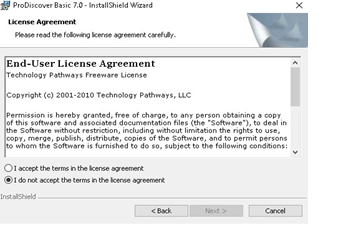
After accepting the license agreement, the installation would begin.
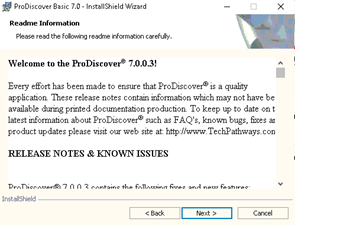
This is a readme and release notes that is shown here and we can read to get the basic information about the application.
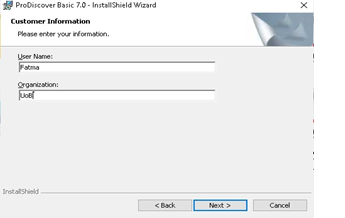
Here, one needs to enter the organization name and the username for the application.
Finally, we need to select if the application should be available for all users or just the person that owns this particular windows account.
Step9:
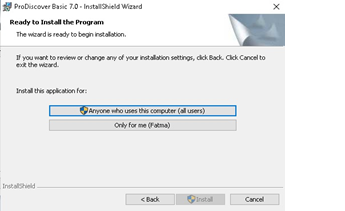
Finally, Prodiscover will start installing.
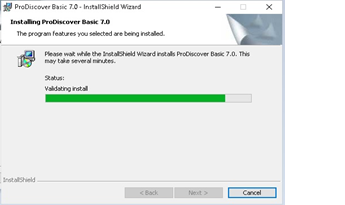
Step11:
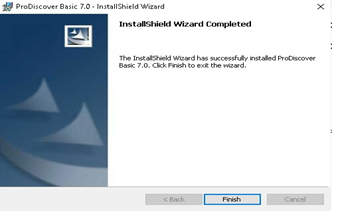
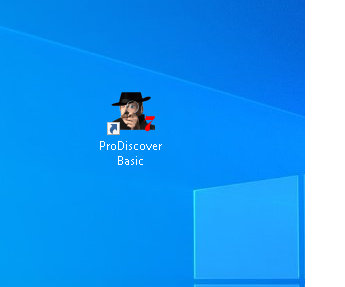
This is the icon for Prodiscover on the Desktop. The application can be simply executed by double-clicking this.
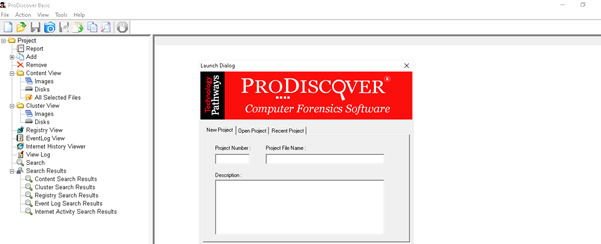
This is the first screen that is shown as soon as the application is run.
Task 2 – Create a RAW Image Format
The first step is to insert the USB Disk which was inserted prior to running this application. The next step is to start the program and we will be greeted by this screen. In this screen, we need to enter the Project Number, the Project File name which would be the name for the file of the Prodiscover’s project and finally the description for future reference. I’ve entered a sample demo for a fake organization named Acme Inc.
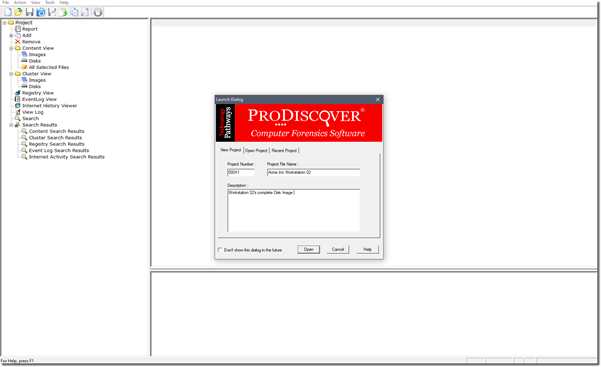
Step 2
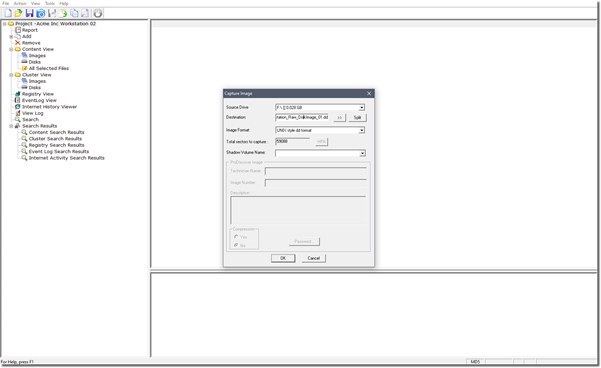
In this step, we needto click on the capture image button and then we’ll be greeted by this screen. In this screen we need to select the Disk Drive, then give Prodiscover a destination to save the location. By default, Prodiscover’s proprietary format is selected, so we need to click on the ‘Image format’ option and choose the ‘DD’ format option which is a raw unix based format (Larson, 2014).
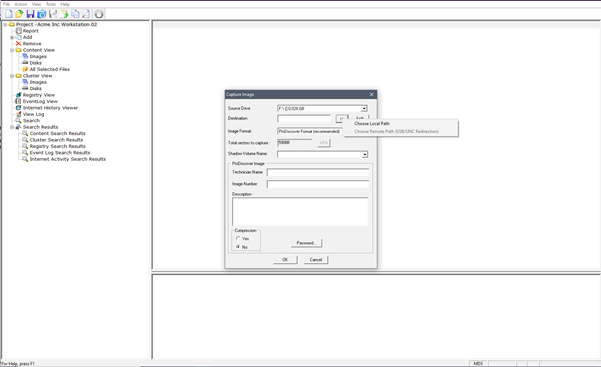
Step 3
Below, we need to define the file saving location as shown in the destination section above.
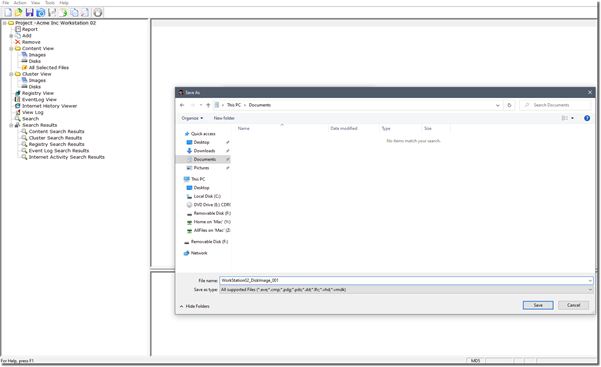
Step 4 [Unix Style DD Format = Raw Format selected]
As can be seen, we’ve selected the ‘Unix Style DD Format’ option which was mentioned previously.
Step 5
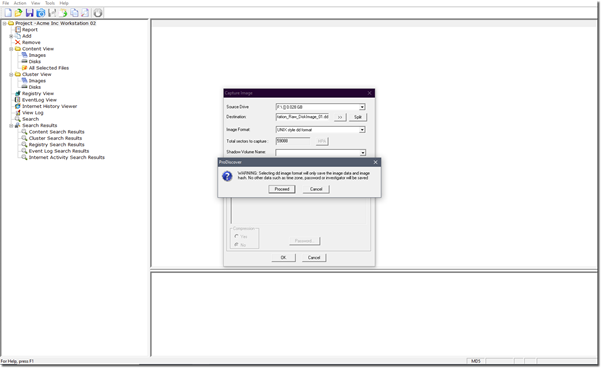
This option warns us that the Raw format does not feature all options and features of the application such as timezone or investigation officer’s details etc.
Step 6
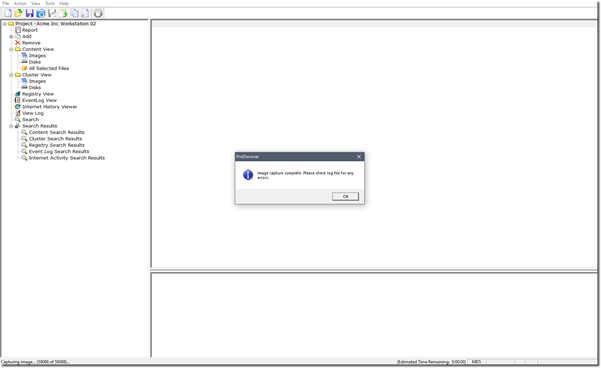
This option notifies us that the image capture was complete and a log file has been generated. If there was any error, it might’ve mentioned here.
Task 3 – Create a Proprietary Format Segmented into 1GB
Step 1 - [Prodiscover Format = Proprietary Format selected]
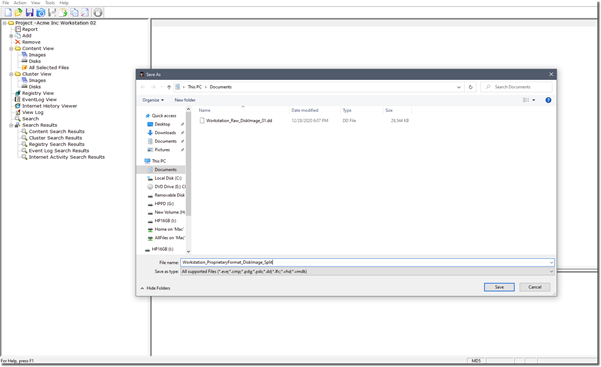
Now, in this task, we will be using the Prodisover’s Proprietary format.
Step 2 –
Now, before capturing, we need to segment the image file. As instructed, the captured image file needs to be segmented in 1GB each. To do this, the ‘split’ option needs to be selected and the exact file size needs to be specified. Prodiscover will segment the image in exactly that much amount.
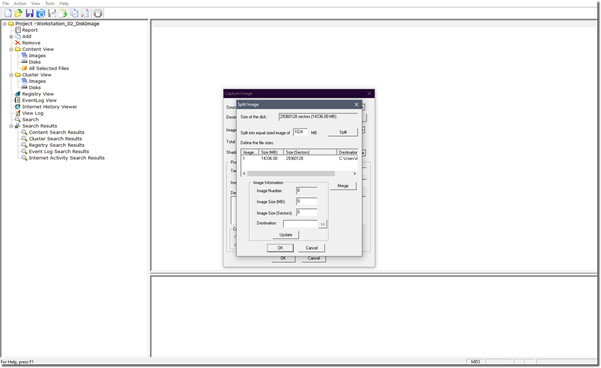
Step 3
As shown in the screenshot below, as soon as the split button is clicked, Prodiscover immediately segments the file in 1024MB or 1GB each. It has not actually saved yet, only has segmented virtually.
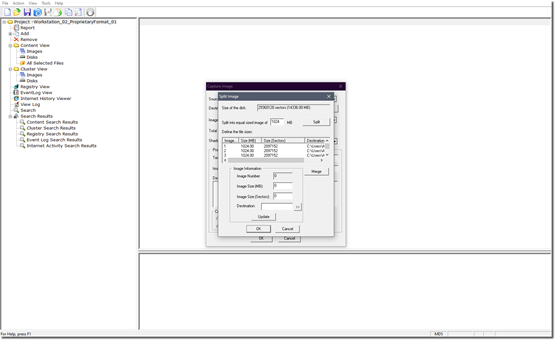
Step 4
As soon as ‘Ok’ is pressed, the screen will return to it’s previous state and we can see that we’ve multiple options now available. Since RAW format earlier didn’t allow us to capture Technician’s name, Image number or the Description, all of those options are now available for us to input. This makes it easier for the investigation to keep a record of the image acquisition.
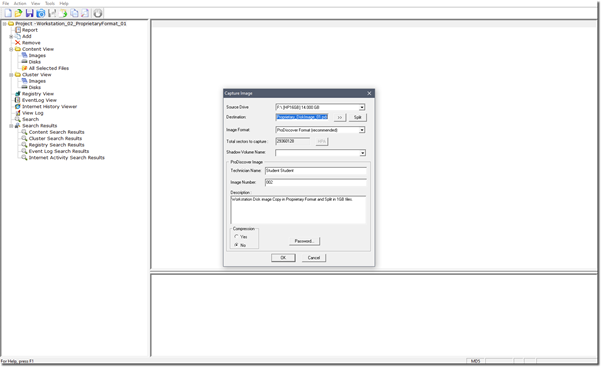
Step 5
As shown below, the image acquisition is being done and simultaneously the data is also being segmented in 1GB files each.

Step 6
The process was completed and it possibly ran without error.
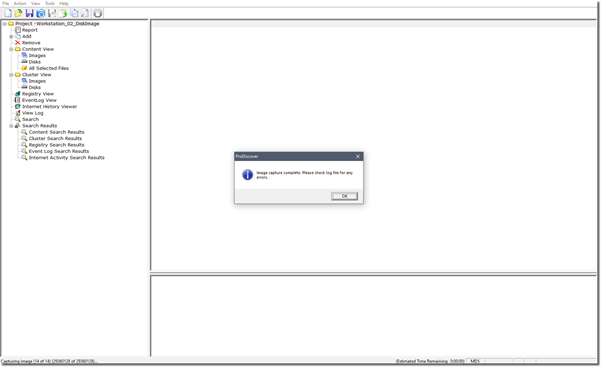
Step 7
As shown below, all segmented 1GB Disk Image files that were captured are shown.

Task 4 - Write Blocker
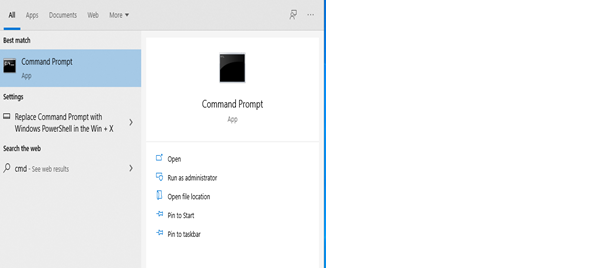
The first step is to open Command Prompt. This can be done by typing CMD in Start Menu > Run field.
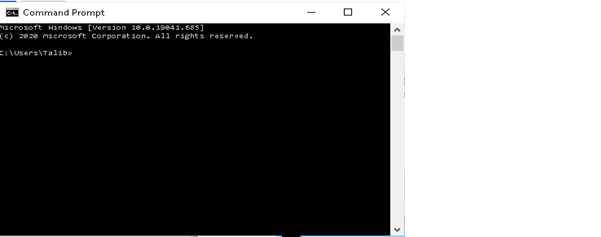
This is the default screen shown.
Step2:
In command prompt, we need to type in ‘DiskPart’ without quotes. This will execute Diskpart application in command-line format as shown below.
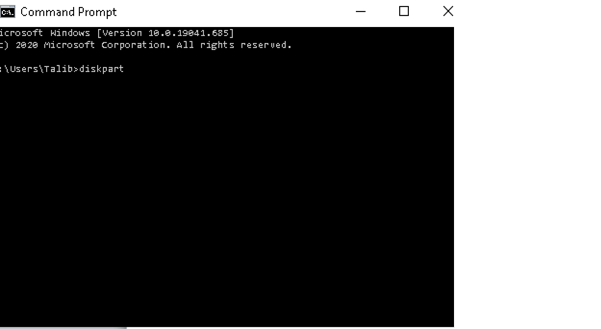
Now, we can use Diskpart to perform various functionalities including creating, modifying or deleting partitions. Changing the format of the partition and even modifying it’s advanced attributes.
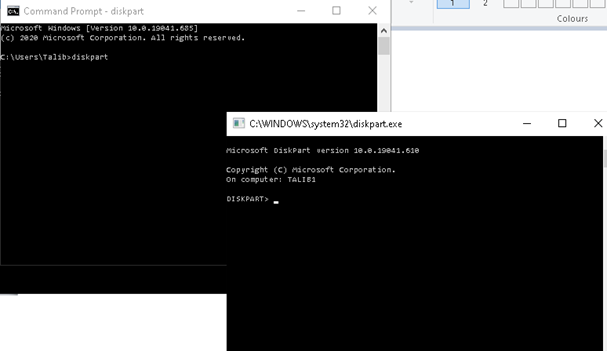
To better organize, a second Command Prompt screen will run another instance of Diskpart tool.
Step 4
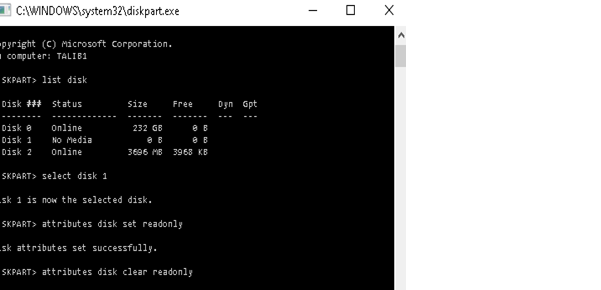
The very first step involves listing all of the disks available in the system. This is done by typing in the command ‘List Disk’
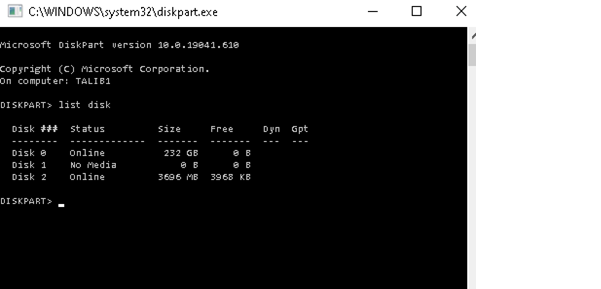
Step 5
The next step involves selecting a particular disk, before any further commands or modifications can be done in that disk. To do this, we need to select the disk and for this case it is Disk 1, this is done by typing in ‘select disk 1’ without quotes.
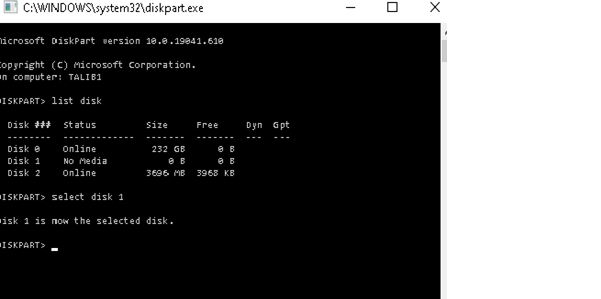
Step 6
As mentioned previously, Diskpart allows one to modify advanced attributes as well. The attribute for our interest here is the Read & Write functionality of the drives. In order to block the drive from being over-written, we need to enable the disk in ‘Read-only’. This can be done by typing in ‘attributes disk set readonly’
Step 7
The write protection on the disk is now enabled as the disk can now only be read but not written.
Step 8:
To verify, any file can be tried to be deleted or copied to the drive and it will not get copied or deleted from the drive as the disk is now in Read-only state.
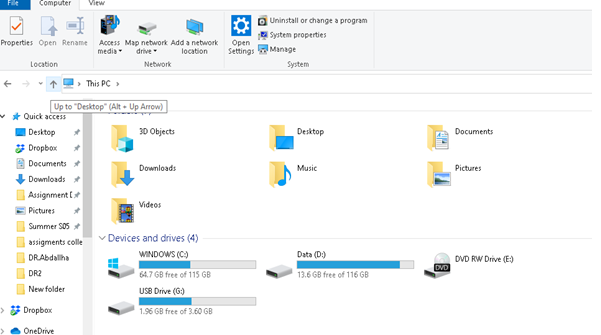
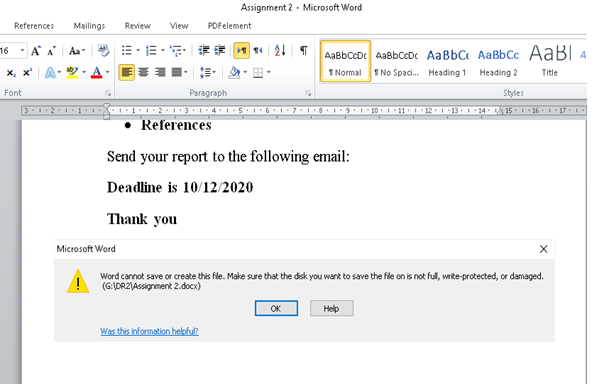
Now, when the acquisition is over and the investigation is completed, then the disk may be able to be returned back to work. So in that case, the disk needs to be brought back in to its original state. This will involve clearing it’s previous read-only state and back to Read & write state. This can be simply done by typing in ‘attributes disk clear read-only and it will restore the disk’s attributes back to its original format.
Conclusion
This paper presents the use case of Prodiscover as a forensic image acquisition tool. As can be seen from the report, Prodiscover had been a valuable tool as it features numerous functionalities that are essential to digital forensic investigators. The tool allows us to capture an image both in its original raw format that can be read by all free and commercial tools while at the same time providing an improved proprietary format that can be used only by Prodiscover while featuring some additional benefits (Steel, 2014). Prodiscover however goes beyond image acquisition and it also features examination, analysis and recovery of data. In essence, it’s an indispensable tool for the modern world that is riddled with digital crimes.
References
Arshad, A., Iqbal, W., & Abbas, H. (2017). USB Storage Device Forensics for Windows 10. Journal of Forensic Sciences, 63(3), 856–867. https://doi.org/10.1111/1556-4029.13596
Casey, E. (2013). Triage in digital forensics. Digital Investigation, 10(2), 85–86. https://doi.org/10.1016/j.diin.2013.08.001
Guo, Y., Slay, J., & Beckett, J. (2009). Validation and verification of computer forensic software tools—Searching Function. Digital Investigation, 6, S12–S22. https://doi.org/10.1016/j.diin.2009.06.015
Kahvedži?, D. (2018). Correlating Orphaned Windows Registry Data Structures. Journal of Digital Forensics, Security and Law. https://doi.org/10.15394/jdfsl.2009.1057
Keith, N. (2012). Book Review: System Forensics, Investigation, and Response. Journal of Digital Forensics, Security and Law. https://doi.org/10.15394/jdfsl.2012.1123
Larson, S. (2014). The Basics of Digital Forensics: The Primer for Getting Started in Digital Forensics. Journal of Digital Forensics, Security and Law. https://doi.org/10.15394/jdfsl.2014.1165
Steel, C. (2014). Idiographic Digital Profiling: Behavioral Analysis Based On Digital Forensics. Journal of Digital Forensics, Security and Law. https://doi.org/10.15394/jdfsl.2014.1160


